How can I ensure a clean microscope

A microscope is a powerful scientific instrument. Science education in teaching institutes and universities is deeply depending on this instrument. Organizationally and financially justified, the students/users share the common instruments of a classroom.
Besides the well-known procedures to maintain the performance, in Corona times additional care is needed to avoid spreading the virus. Time to update our care recommendations.
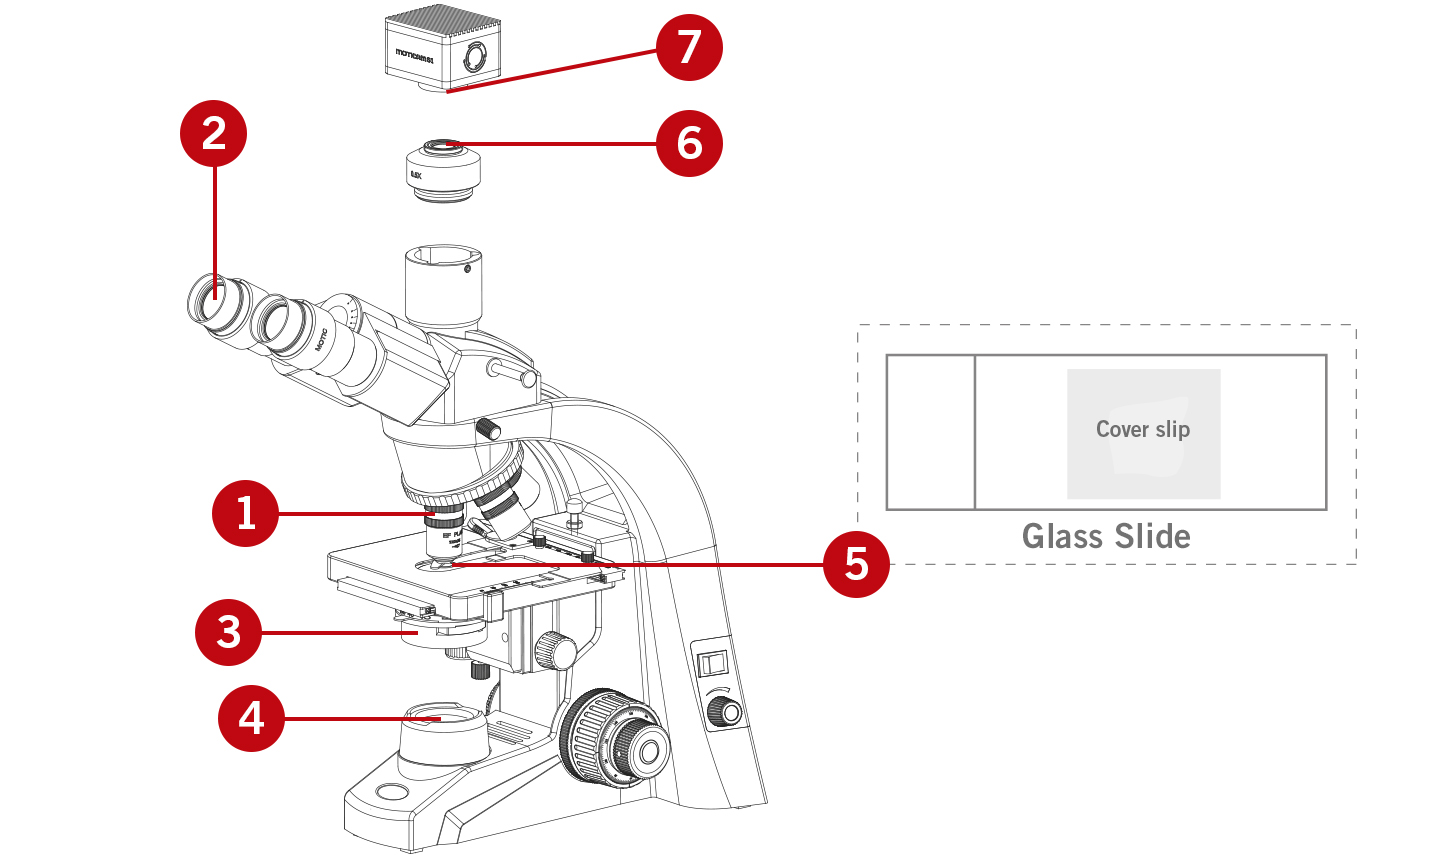
IMPORTANT MICROSCOPE CONTACT AREAS
(1) Objectives
(2) Eyepieces
(3) Condenser
(4) Collector cover glass
(5) Glass slide including the cover slip
In the case the microscope is combined with a camera attached, you may find dirt
(6) On the lenses of the camera adapter (C-mount)
(7) On the protection glass (IR filter) of the camera sensor
Attention: All inner surfaces of the optical elements are strictly taboo! Do not disassemble any part of your microscope for cleaning purposes. You only have access to the outer surfaces of these components. Disassembly will significantly affect the performance of your instrument and will void the terms of warranty. If you notice a malfunction in mechanics or electrics, please contact your nearest Motic supplier.
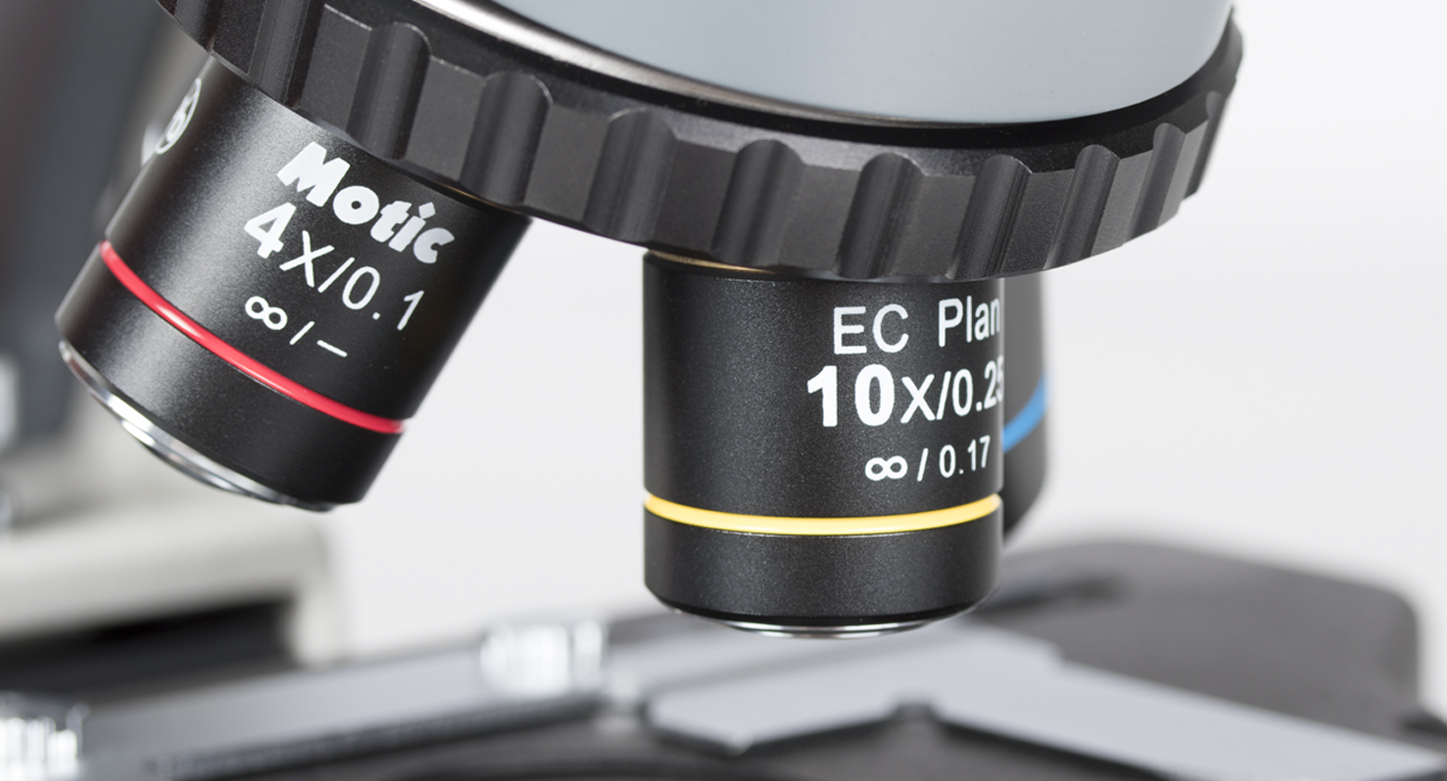
(1) OBJECTIVES
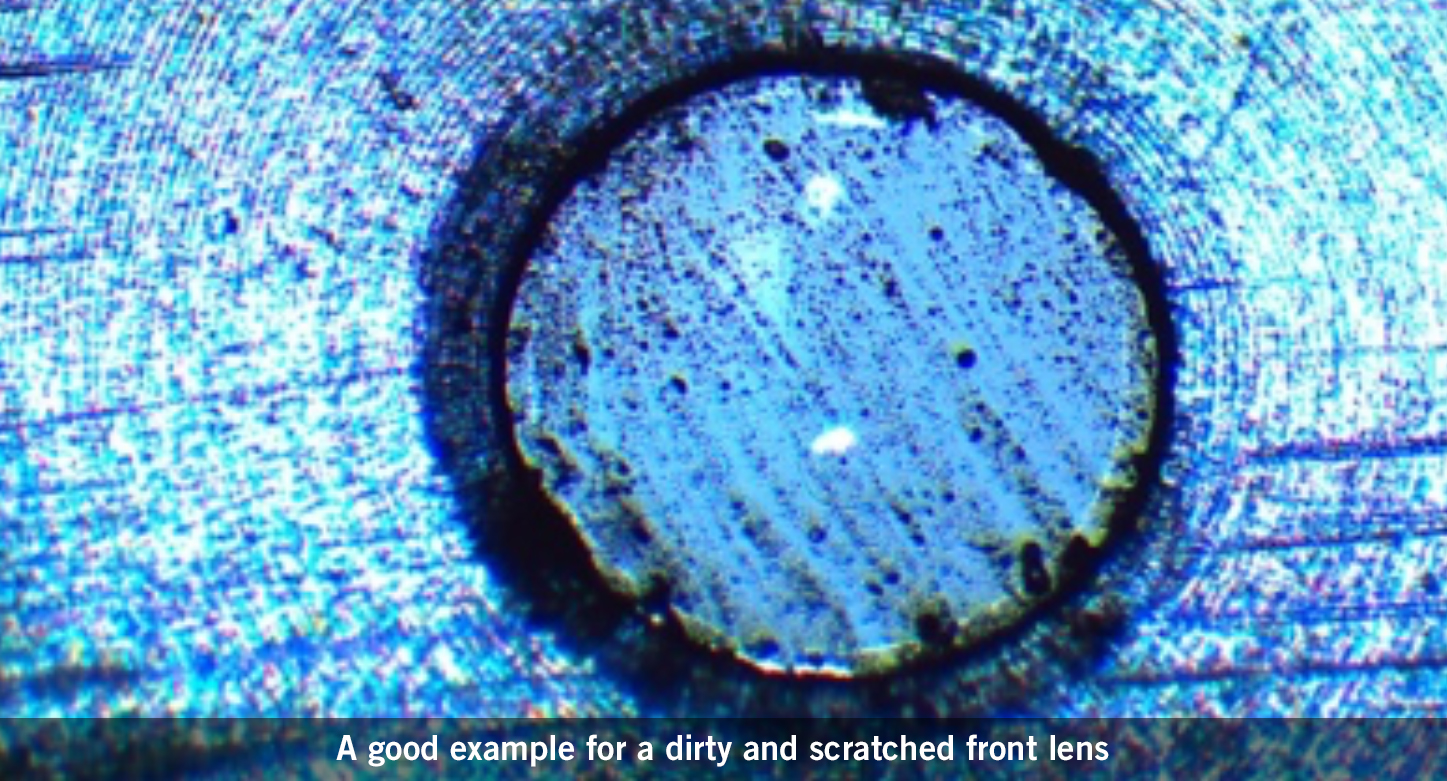
Objectives are the most important optical component of your microscope that require the greatest care for cleanliness. In actual use, the front lens takes the highest risk for pollution, as it comes closest to the sample.
Since on the lenses you always find dust or other species, we recommend to use first an air blower.
HOW TO CLEAN OBJECTIVES THAT WORK WITHOUT IMMERSION OIL (“DRY OBJECTIVES”)
Basic level
Keep the objective within the nosepiece. A small piece of pure cotton (an old T-shirt without imprint will do fine) is moistened with ethyl alcohol (70%). The cloth should be moist, but not wet! Softly (!) push the cotton swab onto the front lens and rotate it without any pressure. Check the swab; if you can see any dirt, repeat this procedure with a new swab. Do not use a dry cloth from the kitchen, it may contain hard linen fibres not suitable for cleaning and protecting the coating of the front lens.
Professional level
Carefully unscrew the objective from the nosepiece and place it onto a table to avoid a dropping. The above described cleaning procedure should be applied. To check the effect of cleaning, pull out an eyepiece from the eyepiece tube, use it upside down (180° rotated) like a magnifying glass. Hold the eyepiece close to your eye like a jeweller in the old crime movies.
HOW TO CLEAN OBJECTIVES THAT WORK WITH IMMERSION OIL (“OIL OBJECTIVES”)
Both Basic & Professional level
These objectives (mostly 100X magnification) are mainly used by experienced students due to the delicate immersion process. The cleaning procedure is the same as with dry objectives. Just take one action before: First press a cotton swab onto the front lens. This will soak up the main portion of the affixing immersion oil. It is essential to clean this kind of objective after each work session.
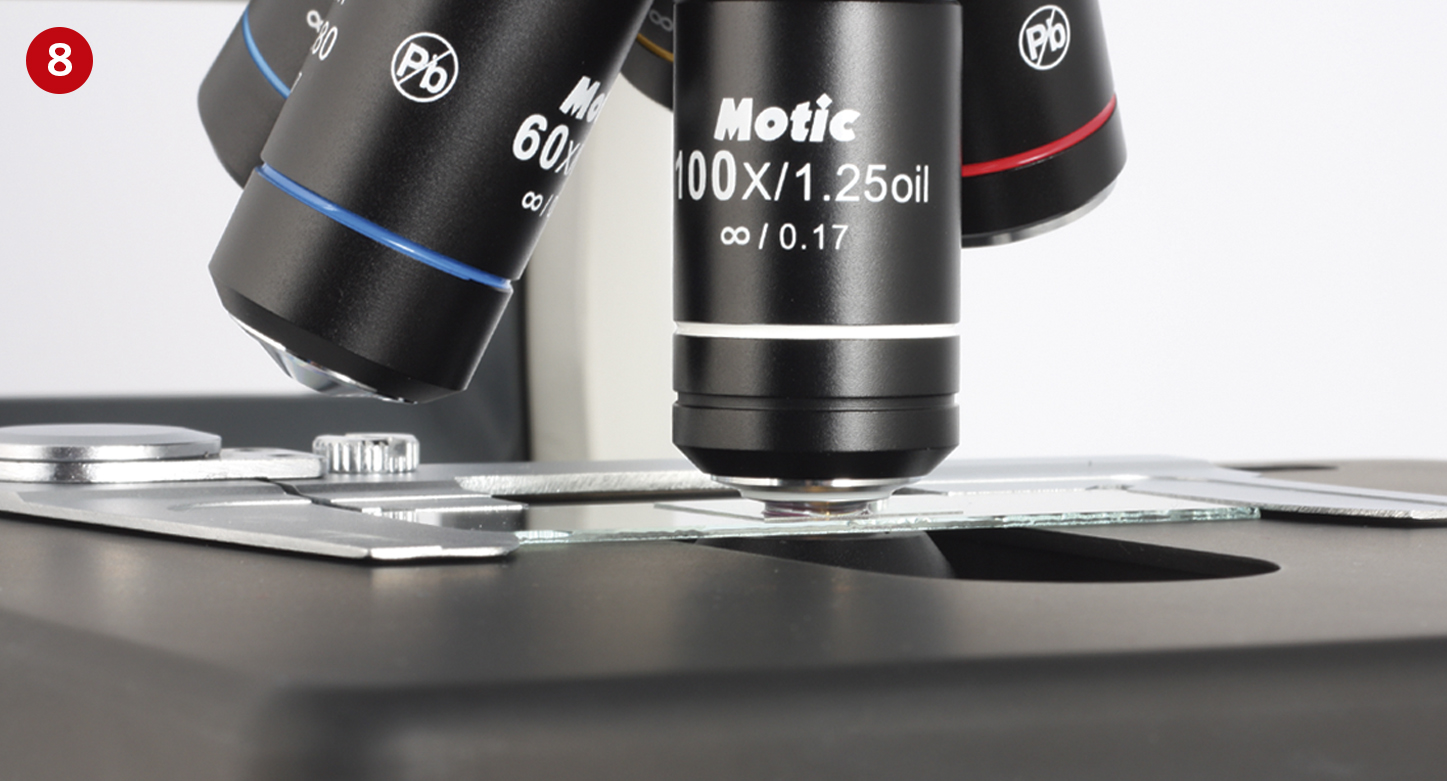
Objectives with a small working distance (40X, 60X) are mounted close to the 100X lens and thus take the greatest risk for contamination with immersion oil from the slide surface. A preventive maintenance is recommended for these objectives.
(2) EYEPIECES
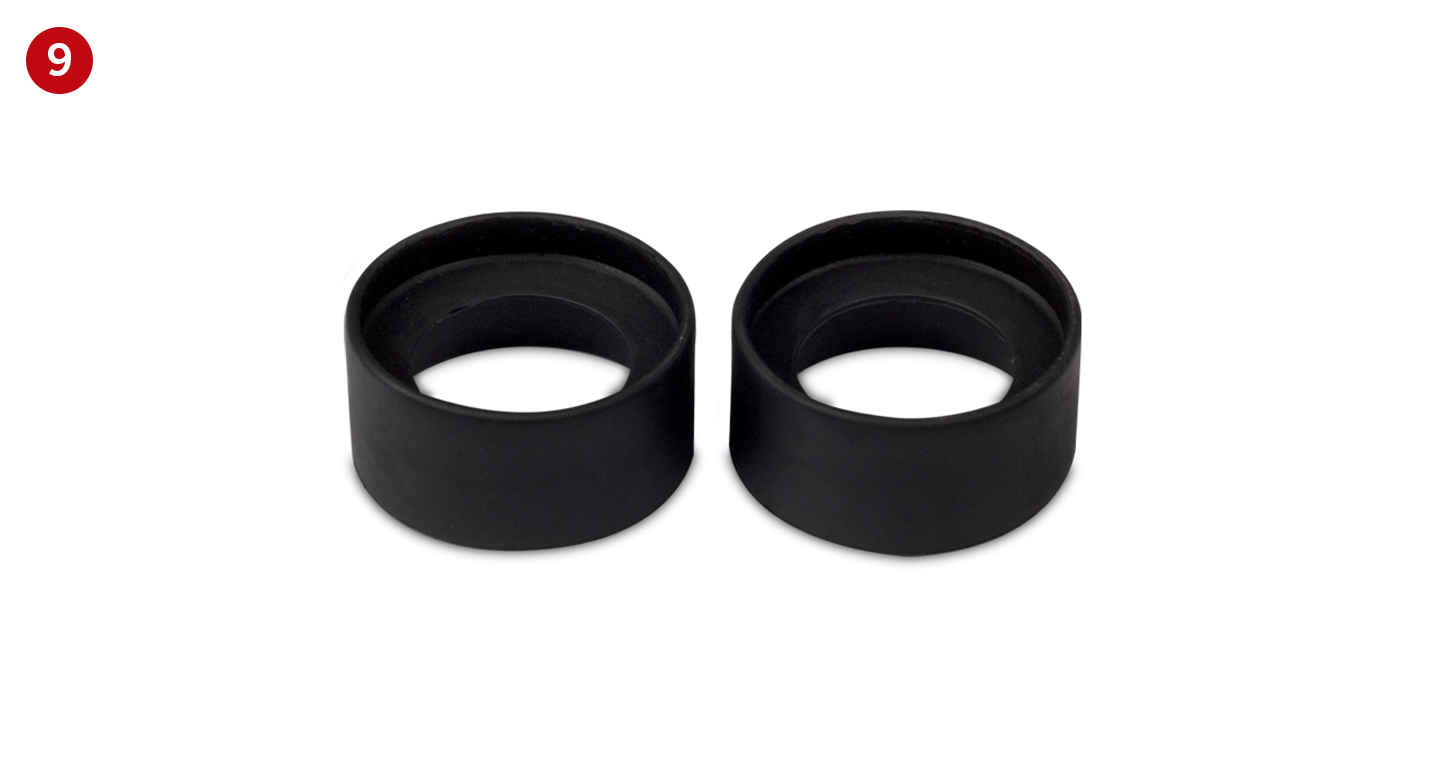
The cleaning method for eyepieces is the same as with objectives. One more time you only have access to the outer lens surface, in this case the upper eye lens. When in use, it’s the skin lipids from the eyebrows which causes pollution. Take off the eyecups (9) from the eyepiece(s) and then use the cotton swab with ethyl alcohol to clean the glass surface.
COVID-19 information The virus seems to be in favour of skin lipids to be transmitted to a second person. Rinse the eyecups separately with water and detergent. Please note that eyecups are manufactured from very different materials. Flexible and adaptable, stiff: no chance to recommend a more defined cleaning agent.
(3) CONDENSER
The condenser is a less critical component in terms of image quality. Take care that dust is removed with a brush, a piece of cotton or clean compressed air. In most cases a solving fluid (water, alcohol, etc.) is not necessary.
(4) COLLECTOR COVER GLASS
The light exit in the base of a transmitted light microscope is predestined for dust pollution. Simply removed it with brush, a piece of cotton or clean compressed air. In most cases a solving fluid (water, alcohol, etc.) is not necessary.
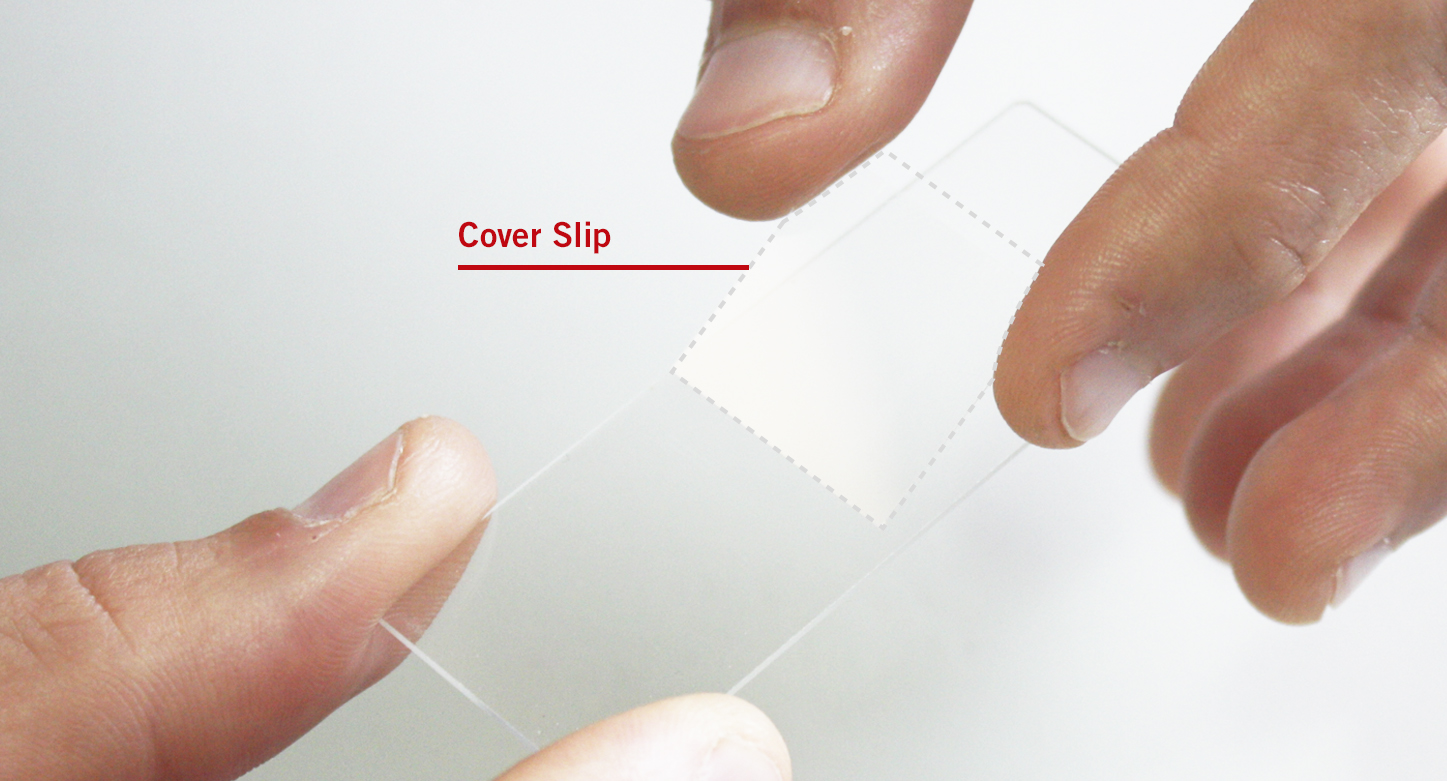
(5) GLASS SLIDE INCLUDING THE COVER SLIP
Polish the glass slide with a piece of cotton to remove fingerprints before using it. Place your sample into a drop of water, then add carefully the cover slip. Please take care that you do not touch the surface of the cover slip.
Professional level
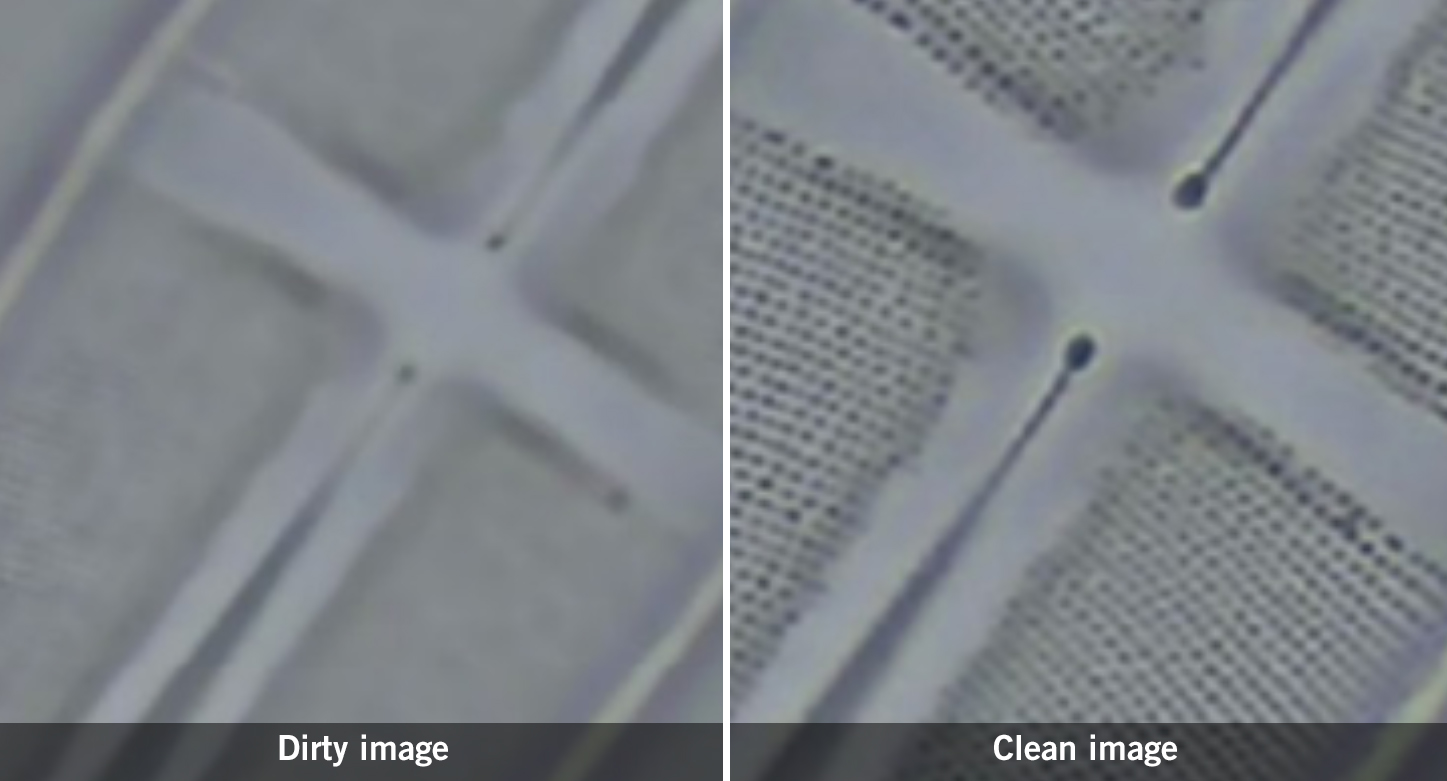
The detection of pollution within the optical path of a transmitted light microscope is essential for an effective cleaning. The so-called “conjugated levels” are related levels with the optical path. The following conjugated levels are most important for dirt detection:
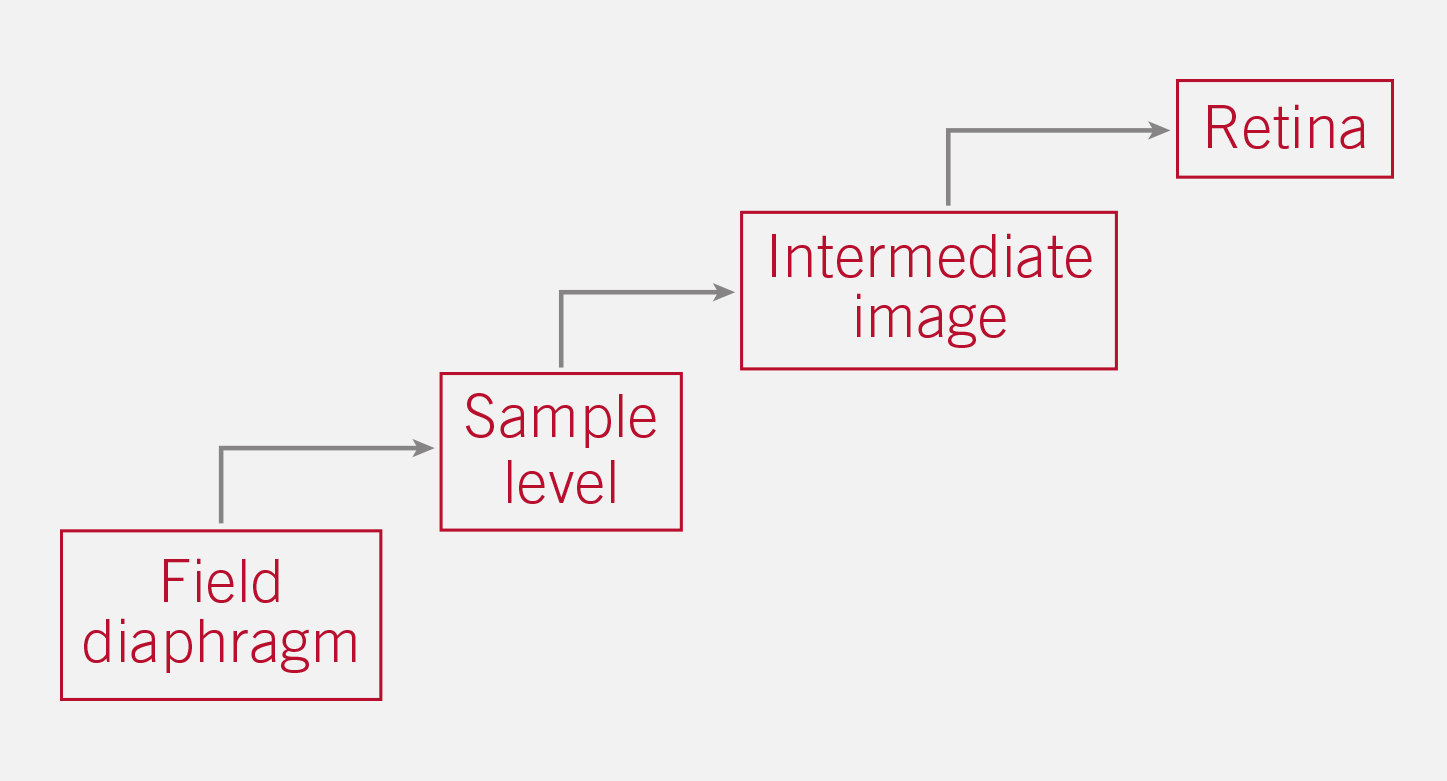
Example: Dust on the collector cover glass (near Field diaphragm) will be seen on all “following” levels. A fingerprint on the sample will be visualized in the intermediate image, the human eye and the sensor of a potential camera.
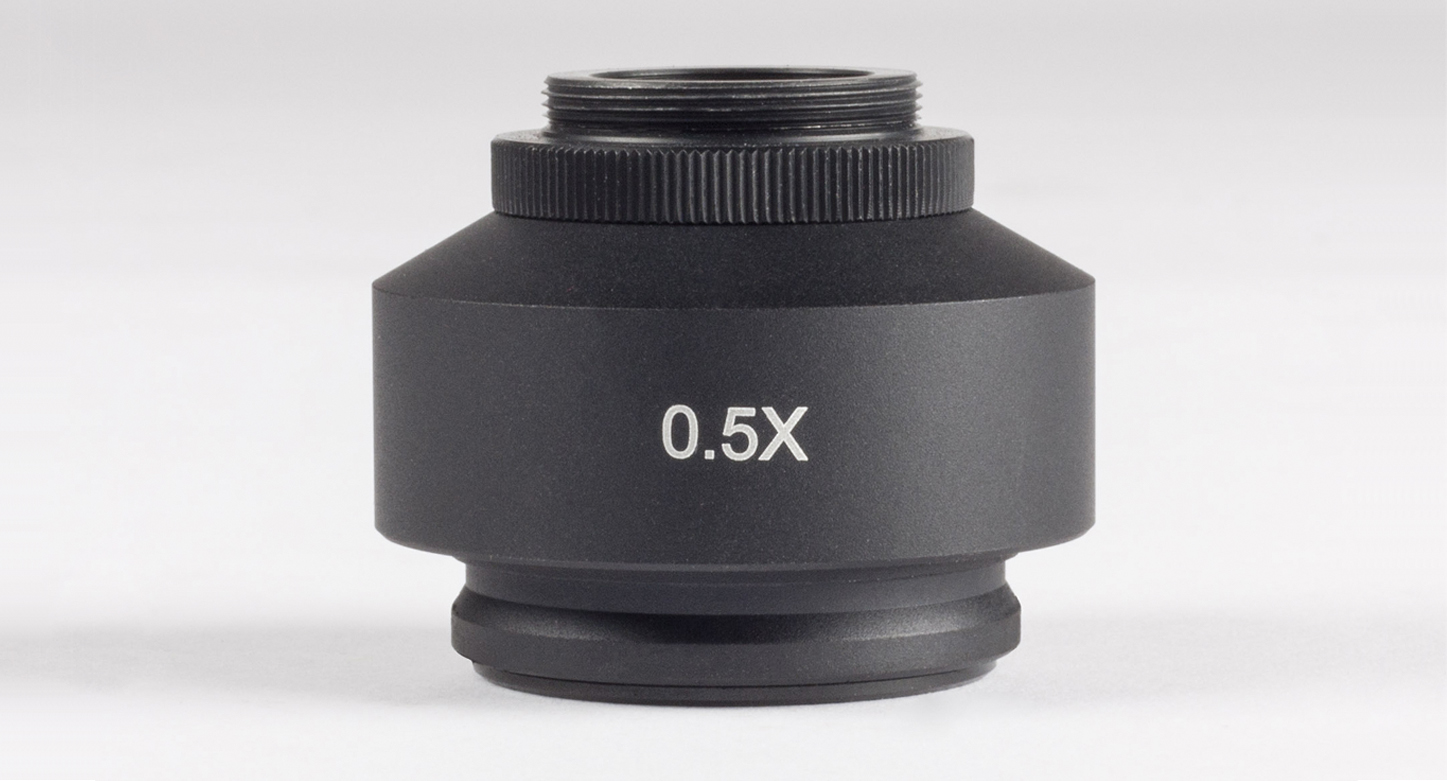
(6) C-MOUNT ADAPTER
The C-mount adapter is an optical/mechanical piece, ready to mount a respective camera on top of a Trinocular microscope. Pollution on the external surfaces of the lenses within are rarely visible in normal operation. Cleaning with ethyl alcohol (70%) and cotton swab will do fine. This should be done only by an experienced person.
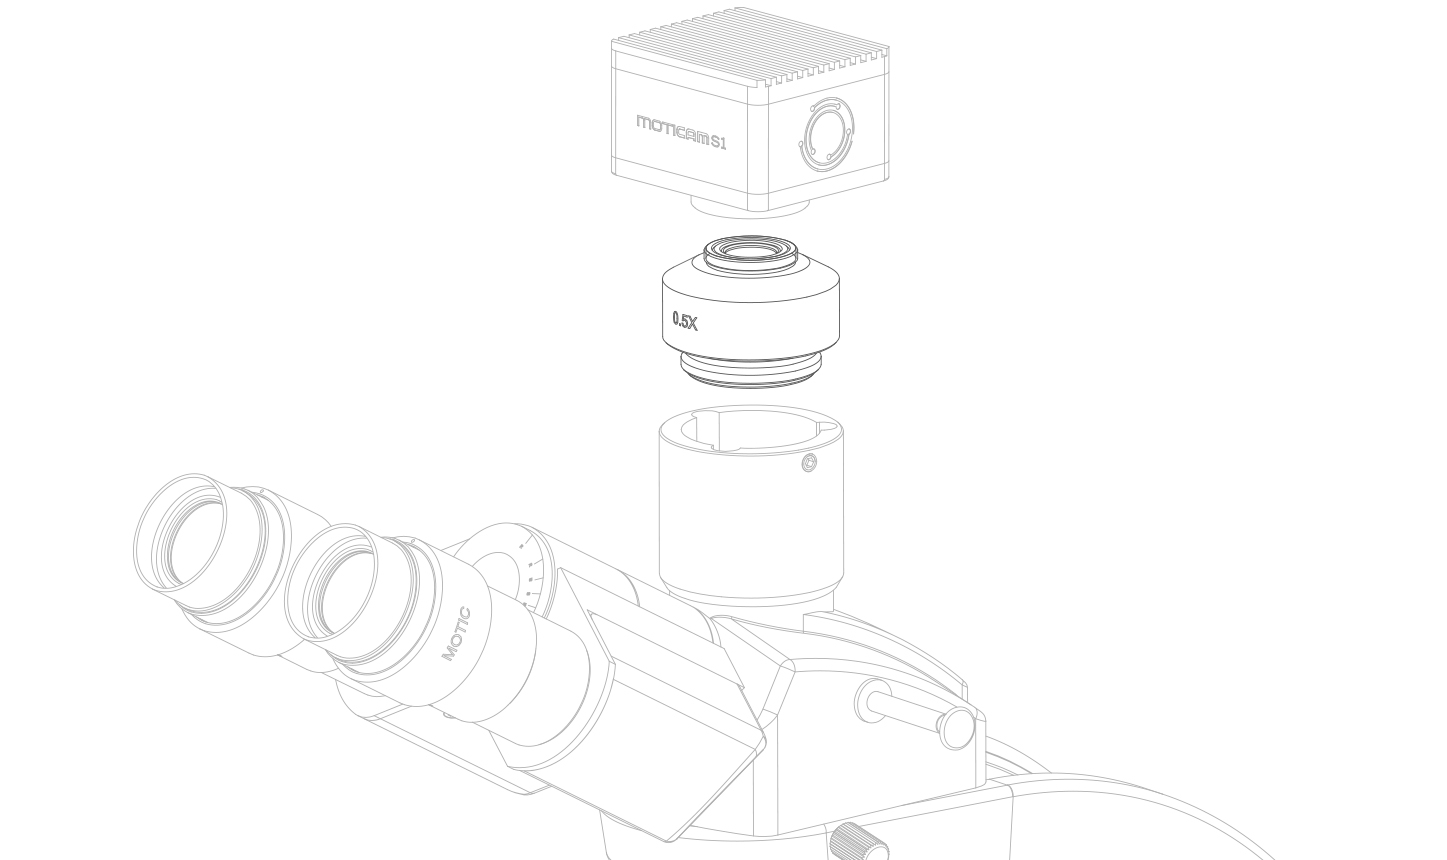
(7) PROTECTION GLASS (IR FILTER) OF THE CAMERA SENSOR
Professional level
This is the most critical component if it comes with a camera. Rotate the camera with C-mount while loosen the fixing screw on top of the photo exit of the Trinocular tube. If the dust spots are rotating, the dust is located within the microscope. In case the dust spots keep their position on the screen, it’s the protection glass. The dust is in close “relation” to the pixel of the sensor below and stays in relative position. The cleaning procedure should be done stepwise. Start with a soft brush or clean compressed air. If these procedures are not sufficient, photo stores can supply more options. If possible, use a stereo microscope for control. Be careful with any liquid as the protection glass has no perfect sealing!
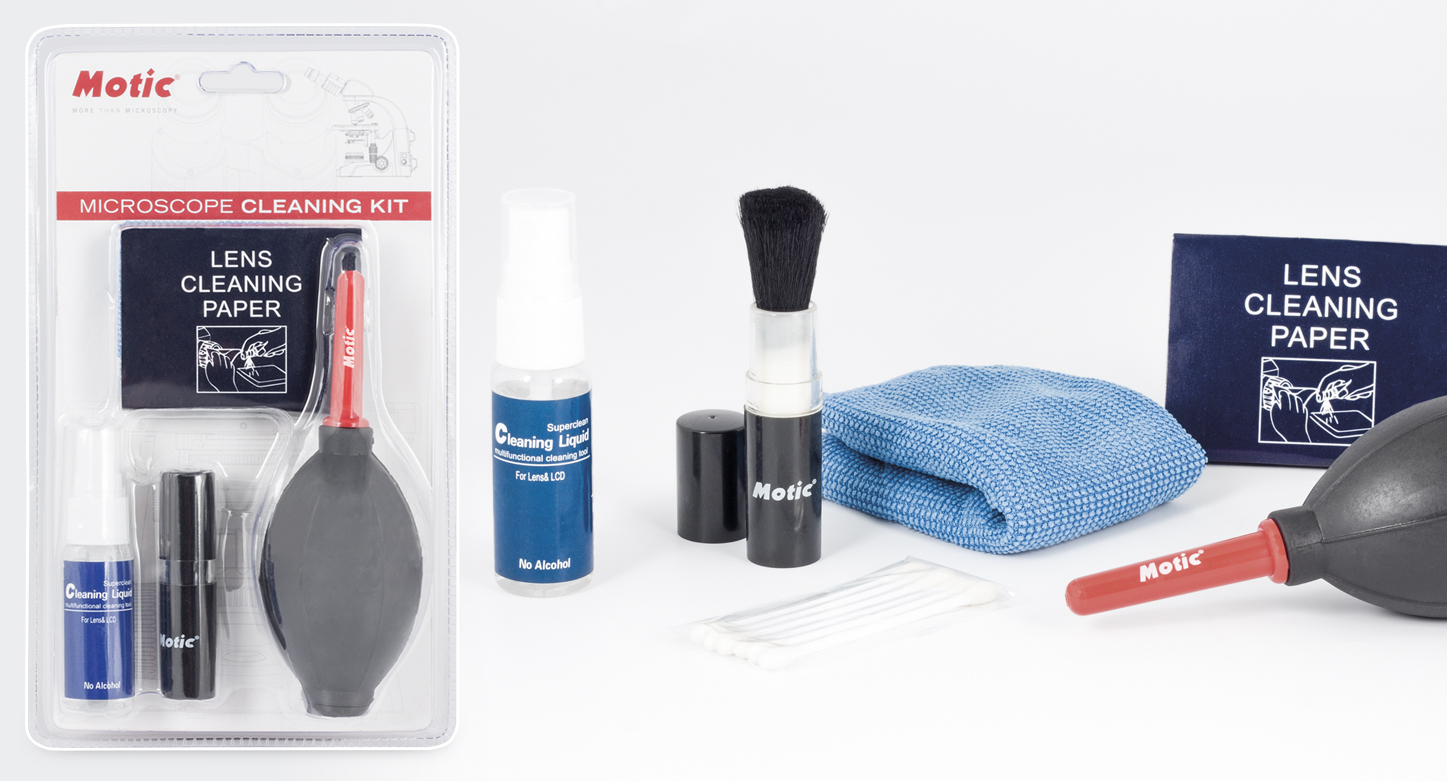
Microscope Cleaning kit available
Additional COVID-19 information: As already mentioned, the virus seems to be in favour of skin lipids to be transmitted. That is why you should take care of sterilizing the coarse/fine focus knobs before and after use.
The message is: Leave the instrument exactly like you want to meet it again.
In case of further questions, you may contact your Motic supplier or just contact us.