A Guide to Front Lens Cleaning and Aperture Diaphragm Optimization
No matter what microscope is in use, it should always be the intention of the user to optimize the image, means to get maximum information out of the sample. We are not talking about aesthetics, as some wrong microscope setup creates nice but misleading images, for example based on diffraction effects. From an educational model to a high-end outfit: experience shows that on any level of hardware and user knowledge mistakes are possible. Microscope experts are sometimes irritated when they walk through a hospital lab. Teaching correct microscope handling is simply not spirit of the time.
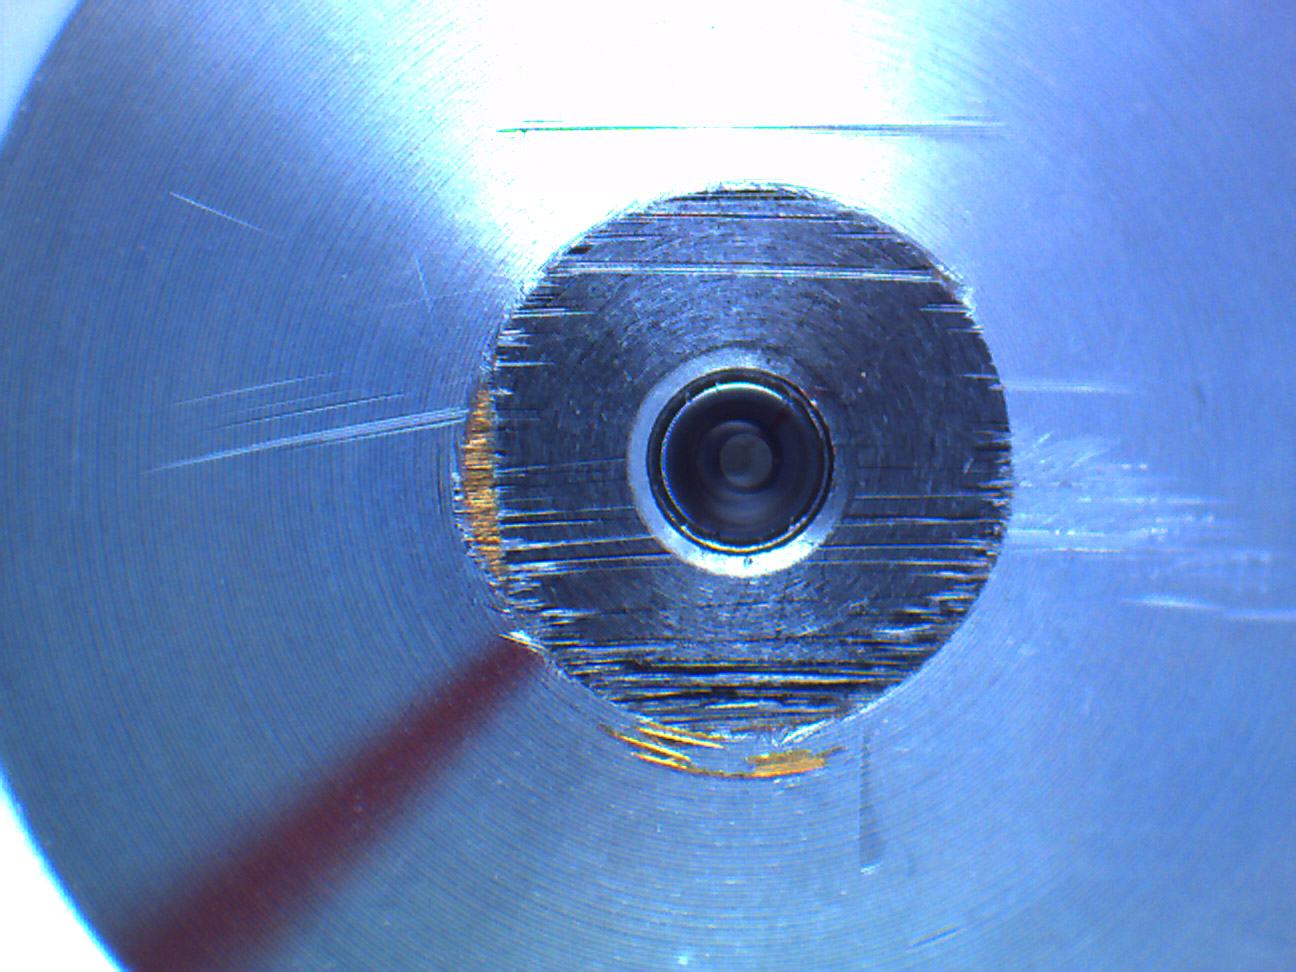
For an optimal image quality, the front lens of the microscope objective should be simply “clean”. No scratches, not grease, no residuals of immersion oil. This is not easy to achieve, as in daily work, especially with multiple users, a care for this aspect is not always in focus.


A nice example of a scratched/dirty front lens
HOW TO CLEAN A FRONT LENS?
- Please unscrew the objective from the revolving nosepiece and turn it by 180°. Now you have access to the front lens.
- Pull out one eyepiece from the tube, turn it by 180° and use it as a magnifier.
- Do you remember those black-and-white crime movies when the receiver is checking the stolen gems? He holds the magnifying glass close to one of his eyes and “focuses” by moving the gem. In our case the objective is the gem. Move it until you can see the glass surface of the front lens.
- Tilting the objective is useful, as the reflections from daylight make every contamination visible. As the human eye is adapted to “Infinity” while watching the virtual image of the magnifier, it makes sense to hold the magnifier close to your eye, thus enlarging the Field of View.
To clean the front lens, there are a lot of recommendations. We suggest first to remove the “hard facts” by using an air bulb from the health care supply store or from your microscope supplier.
The “soft facts” easily can be eliminated by an old cotton fabric: just use the old T-shirt from last year’s holidays. Diluted ethyl alcohol (50/50 absolute alcohol/water) will do fine. Never try to put pressure on the lens, never try to dissolve resistant pollution by soaking the front lens overnight.
APERTURE OF THE DIAPHRAGM
The use of the Aperture (Condenser-) diaphragm is described in any manual for Koehler illumination. Important to know that a correct usage of the condenser diaphragm is not depending on the Koehler Illumination. If your microscope “only” has a Fixed Koehler setup without Field diaphragm, no problem. Just close the Aperture diaphragm depending on the contrast of the sample: A strong straining needs only a little closing, native specimen (smears, water probes) may need a stronger closure. The following example of a non-stained section of rabbit testes shows the increase of contrast if the Aperture diaphragm is closed.

Taking front lens and Aperture diaphragm into consideration, certainly you will get better and more satisfying image results closer to reality. This is the idea of a microscope!
